Hey lovelies! The last time I wrote a blog post was way back in January 2017. Since becoming a freelance makeup artist back in February '17 and running my studio, life got away with me and my head has been more with my clients than my creativity. Which isn't such a bad thing as my clients mean the world to me - but wow, I've missed blogging!
So I'd like to try and bring both of the two together to give an insight into my job, my studio, all things makeup & beauty and a few lifestyle bits here and there!
This post was inspired by three things. Number 1 - I've never actually spoken about my studio on my blog! I spend most of my time there and i'm extremely proud of my little makeup studio so to talk about it feeds my soul!

Number 2 - Everyone talks about how to do makeup or how to clean makeup brushes - but no-one talks about how to clean the workspace! Which is just as important as having clean brushes!
Number 3 - Mrs Hinch. If you don't follow Mrs Hinch on Insta - YOU NEED TO! She has some of the best cleaning tips you'll ever come across. If you're a clean freak like me, you'll love her and if you're not a clean freak - you will be! I've been putting a lot of Mrs Hinch's tips into practice and I've been LOVING the results - so credit to her for some of these amazing tips!
When it comes to my makeup studio, I'm a freak. I'm a massive freak. I've never cleaned a room so much in my life. I like to think of my studio as a 'public place' I have a lot of people coming in and out of my studio; clients, guests, visitors, myself and anyone else who pops their head in. So it's incredibly important to me that my room is spotless, especially when I spend most of my time there.
When I visit other salons & studios I really take note of how clean the room is, when you invest time into cleaning your own workspace you expect it to be reciprocated when you visit elsewhere - sadly this isn't always the case, I've seen some disgusting sights and there is no excuse for it. Clients come for a high quality service and that's what they deserve (clients are the reason we do what we do!) and a massive part of their experience of your service is the workspace. A spotless and tidy workspace makes your clients feel comfortable that they're in a safe and clean environment, when I was training for my makeup qualification - hygiene and safety was the first thing we learnt before we even picked up a makeup brush - so whilst what you're about to read might seem "excessive" to some, for me - it's necessary.
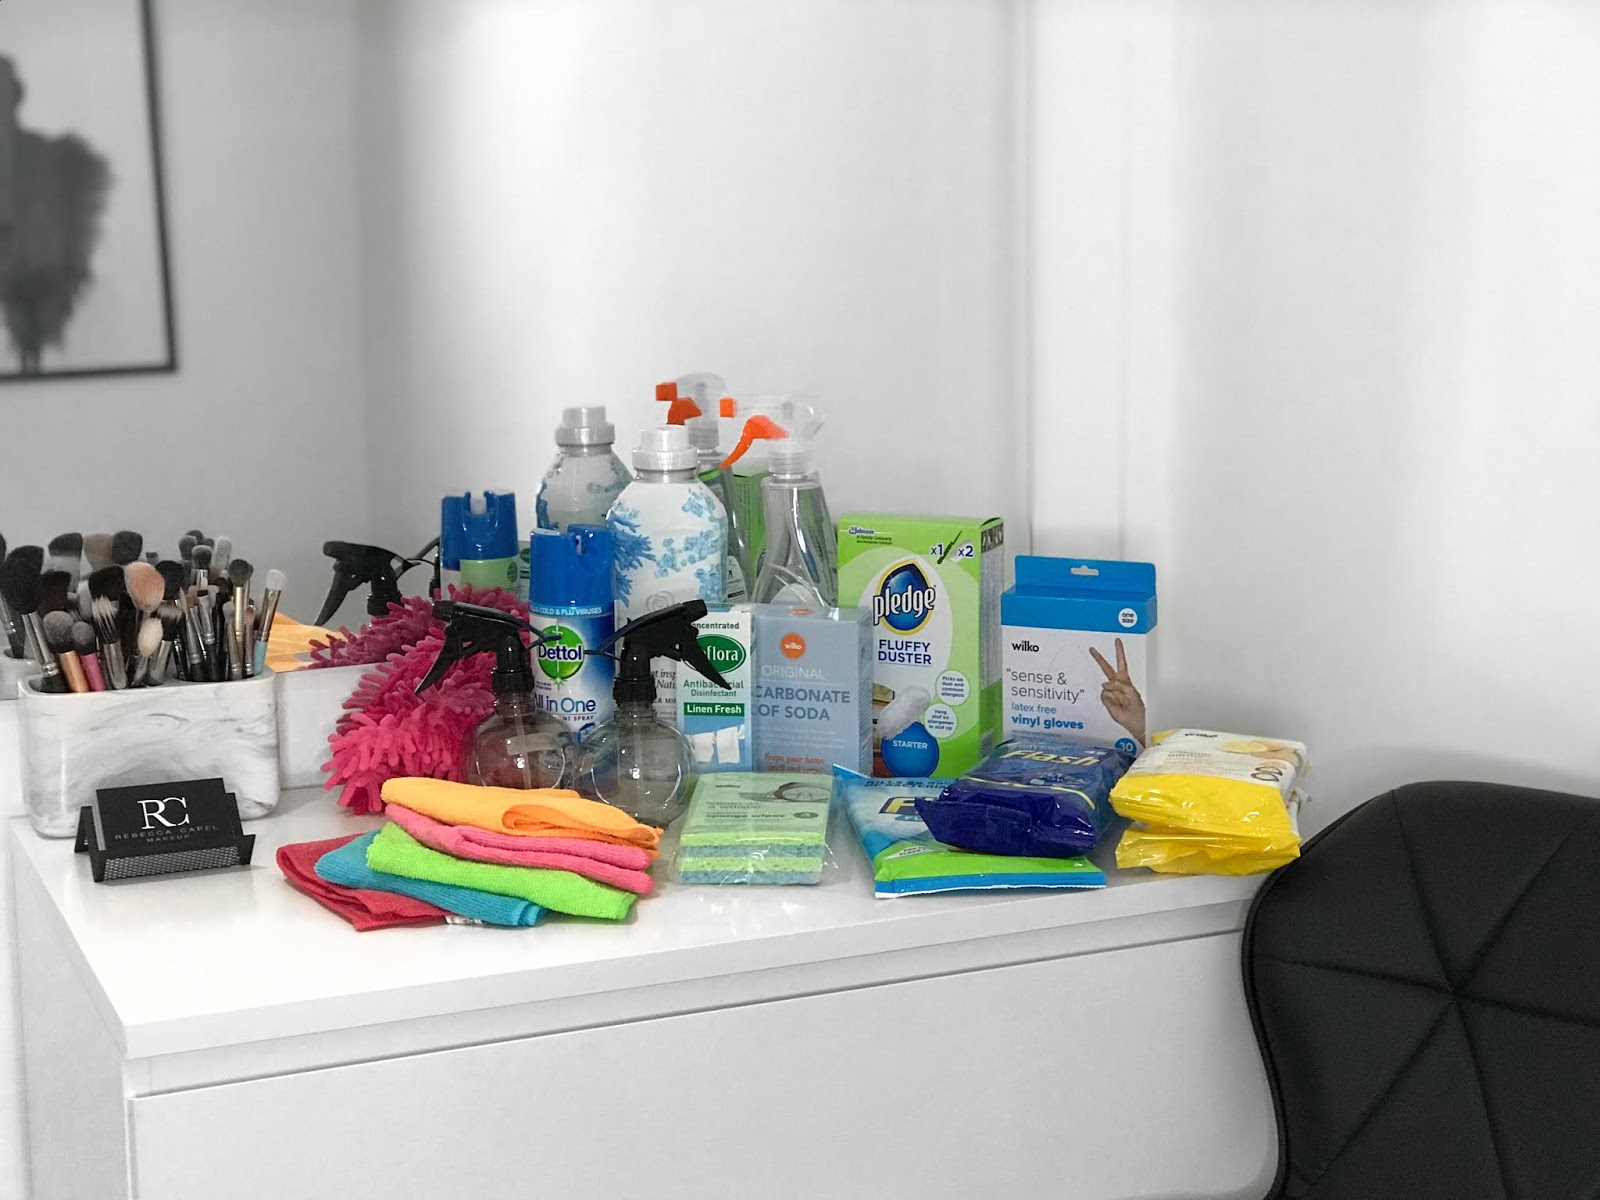
So here is how I clean my makeup room top to bottom - grab a cup of tea and some snacks because it's going to be a long one! Most of my cleaning products are from Wilko's - no reason for it, it's just close to my studio so easy to top up!
HOW/WHERE I STORE MY CLEANING PRODUCTS


Okay so, first things first, there's a lot of products. I feel that they're all necessary and they're all pretty cheap too if you shop at the right places! I store all my cleaning products in my IKEA Alex 9 Drawers (these drawers are kept in my office so they're away from my actual makeup kit - don't mix your cleaning products in with your kit please). I also like to keep a few extra back ups of my favourite cleaning products too. All products used will be linked at the end of the post!
STEP 1 - DUSTING

STEP 1 - DUSTING

My first step before I start with any actual cleaning products is to have a quick dust of the whole room! This removes any dust particles from any decorative items you have in the room before you take them out. My room never really gets dusty (probably because I dust too much) so for a quick & easy solution I use this Pledge Duster - it's about £2 from Wilko's and it's not fussy to use. Don't forget to dust EVERYWHERE - don't neglect places like door frames, mirrors and any other picture frames you have hanging on the walls.
After that, I take everything out of the room that will get in the way of cleaning so all my decorative items, folders, stationary etc. These we will clean later.


Then I dust again and I know you're thinking wow Becca we JUST DUSTED - but now you have taken all your decorative items out the way you can really get into all the corners whilst nothing is in the way.

Then once everywhere is dusted I'll hoover the whole floor and any soft furnishings.

Then once everywhere is dusted I'll hoover the whole floor and any soft furnishings.
STEP 2 - HOW TO CLEAN SOFT FURNISHINGS


To clean my guest chair I've taken this amazing tip from Mrs Hinch - Make a 'snow like' solution by mixing Bicarbonate of Soda (£1.75 from Wilko's huns) and a capful of the Zoflora of your choice (I love Linen Fresh) all in a tupperware box, mix it up with a latex free glove and then start to work this into the fabric of the chair. I have a lot of people sat in my makeup chair, but I also have a lot of people sat in this guest chair too as 80% of the time my clients bring a plus one along!


It's so important for me to keep these areas fresh so that anyone visiting has the best experience whether they're a client or not. After I've worked it into the fabric I'll leave this mixture to do it's thing for about half an hour whilst I do all my other cleaning and then come back to it later.


STEP 3 - MOP SLIPPERS

To mop my floor I use diluted Zoflora & these super embarrassing, over the top Mop Slippers (£5.99) from Amazon. They actually do a really good job - as you can imagine, during an appointment makeup gets EVERYWHERE there's even days when I don't drop a single thing and there will still be some sort of makeup mark on the floor, so these mop slippers and combined with the Zoflora definitely do a good job of at getting that off!

I mix a capful of Zoflora and the rest of the spray bottle with water (You can get these spray bottles from Wilko's for £1)

I mix a capful of Zoflora and the rest of the spray bottle with water (You can get these spray bottles from Wilko's for £1)
These mop slippers are super handy when you don't have a lot of storage space for a mop and at the end of the day when you've been stood doing makeup for 12 hours it's a good way to stretch your legs out! Plus when they're looking a bit on the sad side you can pop them in the washing machine and get them looking brand new again!
Look at the shiiiiiiiiine.

Look at the shiiiiiiiiine.

STEP 4 - SKIRTING BOARDS


For cleaning my skirting boards and studio door. In a spray bottle (£1 from Wilko's - Wilko's is where it's at for cleaning products honestly) I combine a capful of Lenor Fabric Conditioner and the rest water (you're probably thinking what on earth is this woman on about but I also learnt this tip from Mrs Hinch - and in Mrs Hinch we trust).
I then spray it on the skirting boards, edging strip and door and use a thick sponge to remove any marks and then dry with a bit of kitchen roll. The diluted Lenor is gentle on the skirting and won't strip the paint - only use a capful though as you don't want the mixture to become sticky. This makes my studio smell like fresh washing which I think is such a comforting smell for anyone no matter what your tastes are.
STEP 5 - SURFACES & WORKTOPS

To clean all my general worktops and surfaces (makeup drawers, storage drawers, office desk, side table and shelving) I mix a capful of Zoflora and water in a spray bottle (the only spray bottles I use at those £1 ones from Wilkos I've linked above - BARGAIN) and I just spray this on all my surfaces. This will anti-bac everything and make the whole room smell AMAZING!
When it comes to cleaning your worktop surfaces, don't clean them half-heartedly. Make sure every little bit of the surface has had at least the once over. These are the surfaces that are touched most from day to day so it's important to make sure that these areas are super clean for clients arriving in the studio.
STEP 6 - MIRRORS
STEP 6 - MIRRORS

To clean all my mirrors I've been using White Vinegar and these Microfiber Cloths. I've always been a fan of using polish on my mirrors but recently I've been feeling like white vinegar does a much better job plus it's a more versatile product - microfiber cloths are amazing for cleaning mirrors as you can clean with one and then buff with a dry one to make sure there's no streaks.
Once your microfiber Cloths are looking a bit on the sad side throw them in the washing machine with your mop slippers and everything will be brand new again. I try to re-use my microfiber cloths and mop slippers as many times as I can before I throw them out, my favourite ones are these from wilkos - you get 4 in a pack for £2 at Wilko's and they're amazing quality.
STEP 7 - MAKEUP CHAIR, OFFICE CHAIR & RING LIGHT


To clean my chairs and ring light I use Flash Wipes. These are so good, I've been using these since I started freelancing as they're amazing at giving your makeup chair a good clean! They're incredibly versatile so you can use them for so much more - inbetween clients there isn't a lot of time to be diluting Zoflora so these Flash wipes are a quick fix to make sure all surfaces are clean and ready for the next client. The Wilko's own brand ones are really good for 50p per packet but the Flash Ultra ones do perform slightly better and smell much more citrusy too.
STEP 8 - STAINLESS STEEL


The bottom of my chairs and office chairs are stainless steel - which can show up where people have been resting their shoes on the chair or any other marks. So to make the stainless steel extra shiny I use Greensheild Stainless Steel Wipes (You can get these from poundshops but I couldn't link them so here's an Amazon link for reference) to get them looking extra gleaming and free of any footprints! These wipes are cheap but if you're on a super budget and don't want to purchase these you can just use the Flash Wipes I mentioned above! However, if you're a little extra like me, get these! I love the way these make my stainless steel sparkle.
STEP 9 - HOOVER (AGAIN)

After all the excessive cleaning - it's time to round it all up! Remember when we rubbed the Zoflora & Bicarbonate Soda Mix into the guest chair? To remove it, just hoover it off and your guest chair will now smell absolutely amazing (and your hoover will too). Also, this is probably the most satisfying part of the whole cleaning process.
STEP 10 - FINISHING THE FLOOR
STEP 10 - FINISHING THE FLOOR

Because I'm an actual FREAK I'll go over the floor once again with a Flash Floor Wipe to make sure everything is sparkling. Sometimes mopping the floor - just isn't enough. Next time you think you've done a good job with your mop - use a floor wipe and see how much you've left behind! Flash Floor Wipes just get any last marks up and polish your floor to perfection! I've tried a couple of other floor wipes but in my opinion - nothing beats the Flash Floor Wipes.
STEP 11 - SPRAY HANDLES

STEP 11 - SPRAY HANDLES
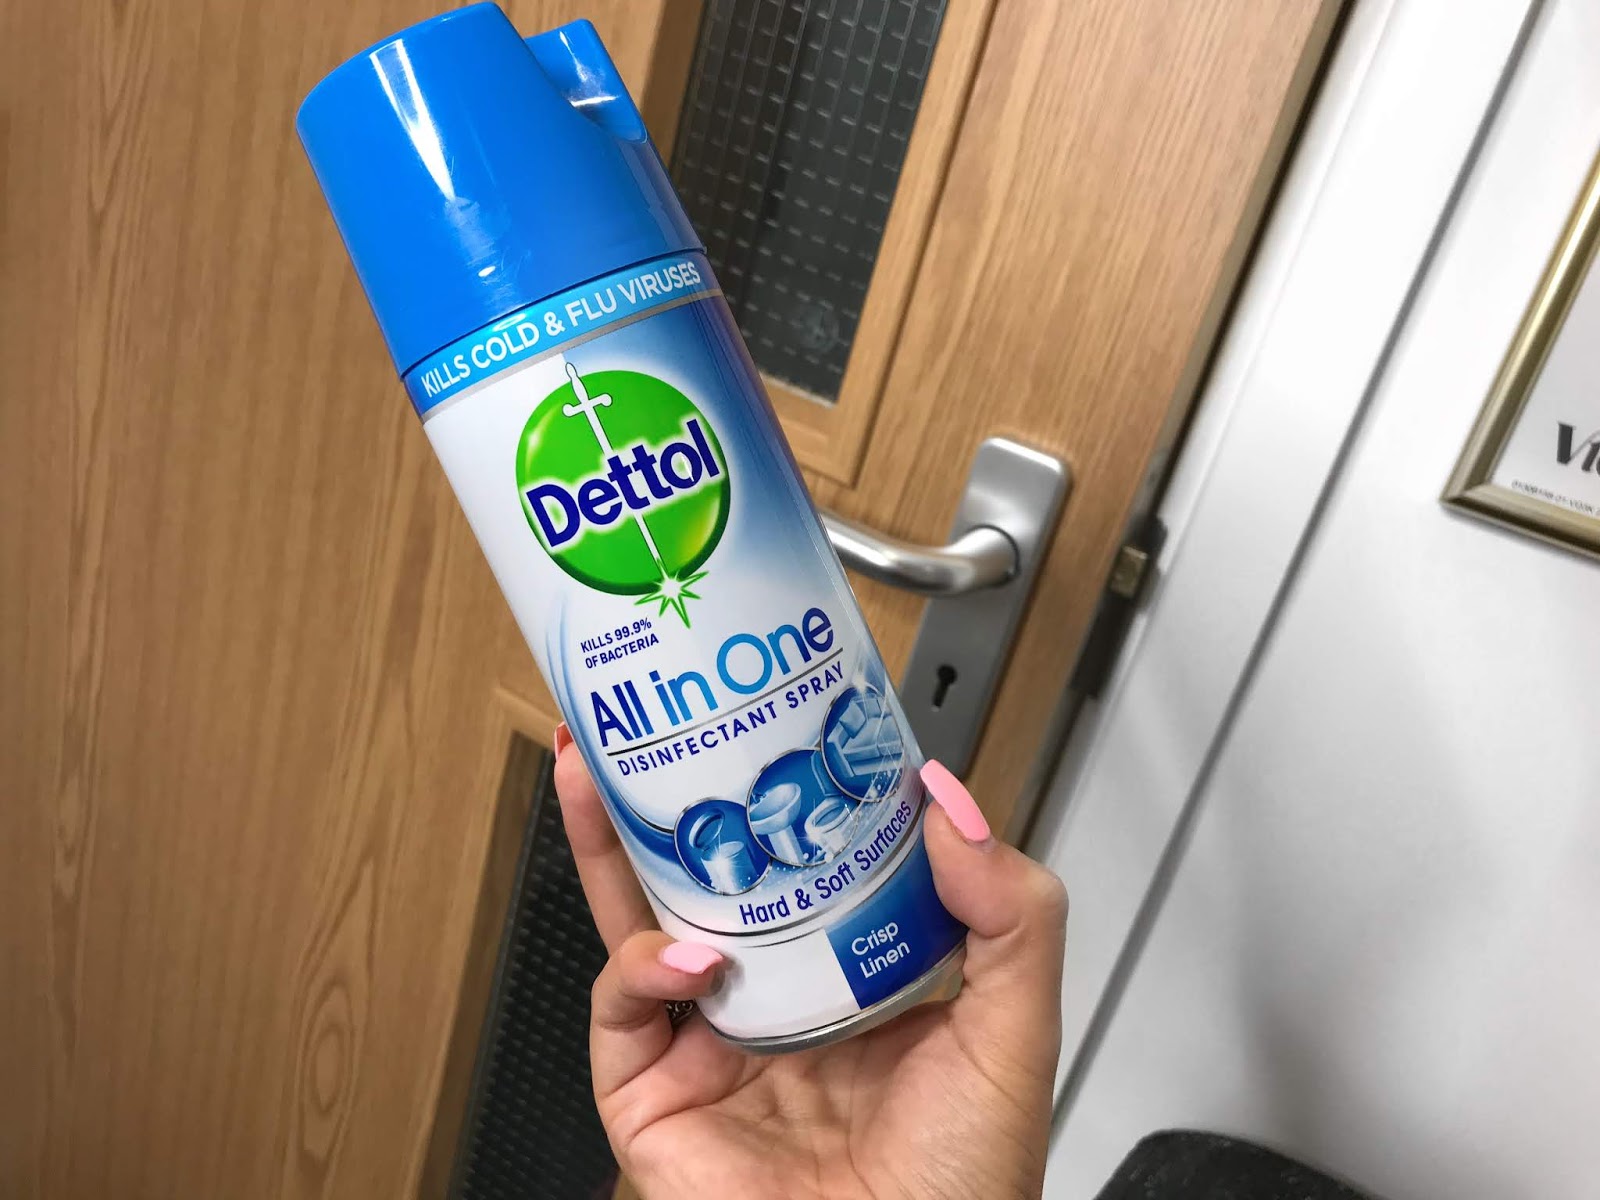
The last cleaning step! I bet you finished your cup of tea at Step 5 but all these steps are NECESSARY! This Dettol Spray is THE ONE. I mean it, I spray this over any door/drawer handles - as I mentioned before I like to think of my studio as a 'public place' and my door handles and drawer handles get touched so much so whilst I constantly sanitise my hands throughout the day - I need to make sure that any handles I'm touching are just as clean!
I also use this to spray over my smaller items such as false plants, charity box etc.
STEP 12 - PUT THE ROOM BACK TOGETHER
So now if you don't have the worlds cleanest makeup room then you must have skipped a few steps (I see you!) Get all your bits back into the room that needed to removed such as your decorative items and any office items! Ready for the thirteenth and final step.
STEP 13 - FRAGRANCE


STEP 13 - FRAGRANCE


So you've just made your makeup room smell absolutely amazing - keep it going all day long by burning some wax melts. I prefer using wax burners rather than candles in my studios as they're not as much as an open flame (although I do have a few candles for decoration). My favourite wax melts are from Wax Melts by Francesca she has the most amazing scents and they're super cheap too! But today I tried out these Wilko's White Linen Wax Melts and JEEZ they were strong! Super nice, only £1 for a pack will 100% be repurchasing these again and trying out some other scents!
YOU'RE DONE!
That's it! Finished! Put that microfiber cloth down hun - you did it! Your room is ready for you or your clients. I deep clean my studio like this once a week but surfaces and floors are cleaned whenever I have clients!


I hope by this point you're not DRAINED with information and this was somewhat interesting - but all cleaning fun aside, having a spotless makeup room is essential to your clients safety and to yours, and what is better than a spotless studio smelling amazing! If you have any cleaning tips or you have any specific products you love using let me know in the comments below and if you'd like me to do a Part 2 - How I Clean My Makeup Kit - let me know and I can definitely do that too! Have a fab week and we'll catch up on the next post!
Rebecca x

No comments
Post a Comment